Plan the line of sight
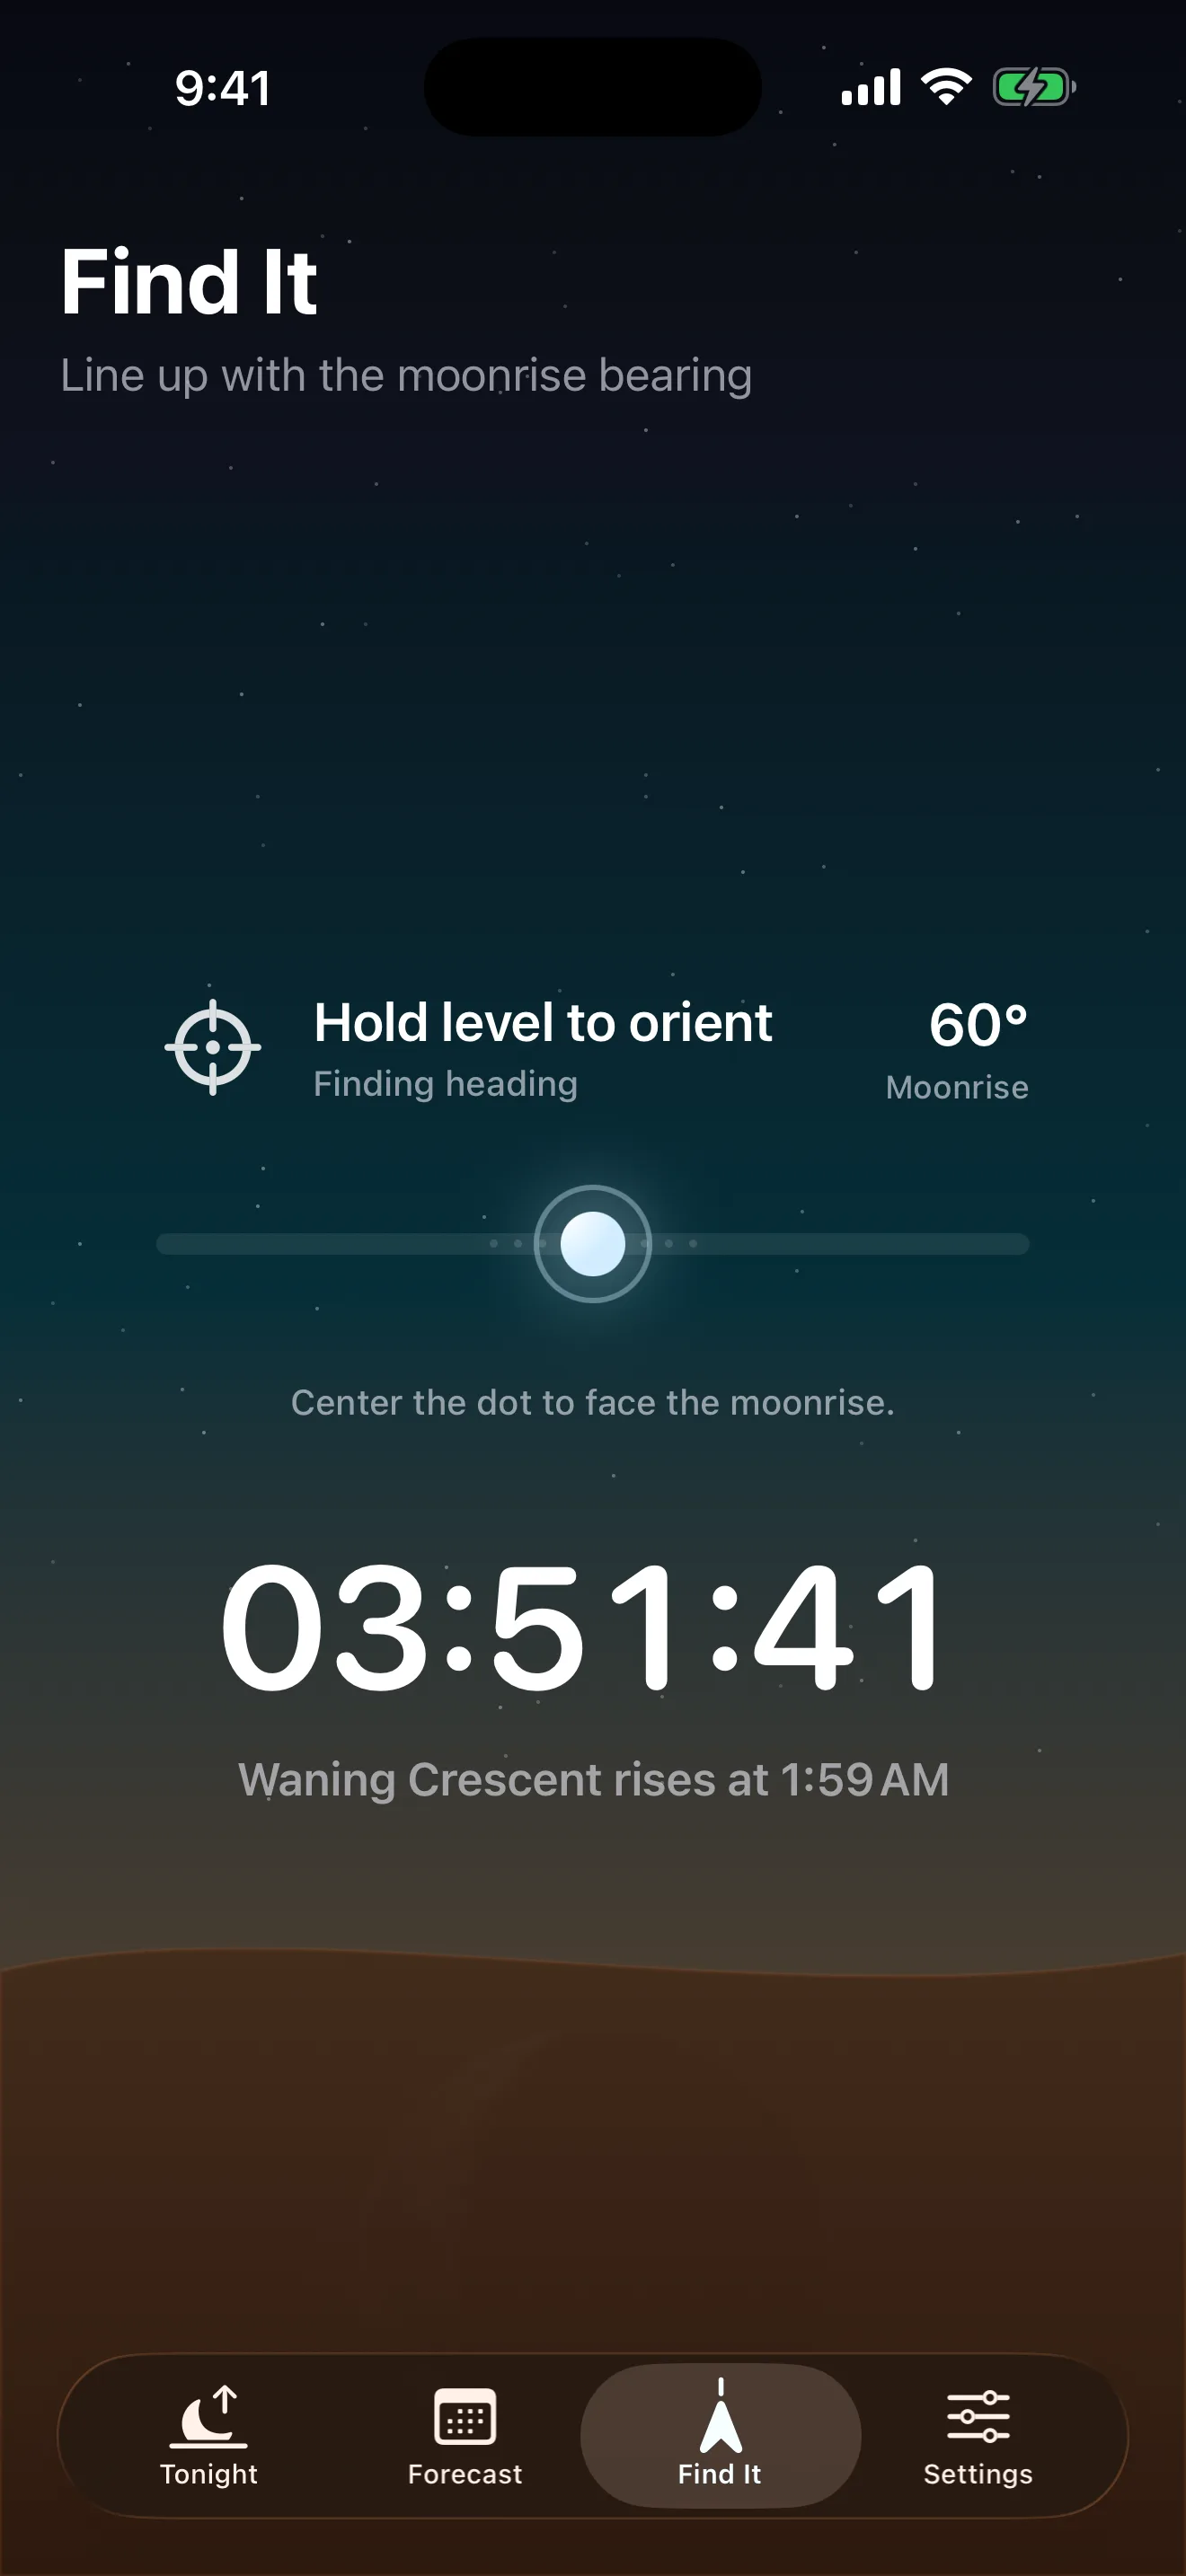
Start with the moonrise bearing for your exact location and date. A compass direction tells you where the Moon will meet a level horizon. Your foreground may sit above that horizon, so the Moon can appear later and slightly farther along its path.
Scout the location in daylight. Look for a safe, stable place to stand, an open view in the moonrise direction, and a foreground that gives the Moon scale. A distant lighthouse, tree, ridge, or building can work well when you have permission and a clear line of sight.
Small changes in your position can move the Moon dramatically relative to a distant subject. Step sideways to shift the Moon left or right. Move closer to the foreground to make it appear larger relative to the Moon, or farther away to compress the alignment with a longer lens.
Choose focal length for the story
A wide lens shows the landscape and makes the Moon look small. This can work when the color and atmosphere of twilight are the subject. A telephoto lens makes the Moon occupy more of the frame and compresses the apparent distance between the Moon and foreground.
There is no single correct focal length. Decide whether the image is about place or lunar detail. If you want both, capture a wider environmental frame and a tighter telephoto frame while the Moon climbs.
Use a stable setup
The National Park Service recommends a sturdy tripod and manual camera control for night sky photography. Moonrise often happens in changing twilight, so stability gives you more exposure options as the scene darkens.
Use a short self-timer, cable release, or remote trigger to avoid moving the camera. Turn off lens stabilization if your lens manufacturer recommends doing so on a tripod. Focus manually on a distant object or on the Moon once it is visible, then confirm sharpness with a magnified view.
Expose for the Moon
The Moon is sunlit and much brighter than a dark landscape. Automatic exposure can brighten the foreground and erase lunar detail. Start with manual exposure or use exposure compensation to protect the highlights.
Check the histogram and highlight warning rather than relying only on the rear screen. If the Moon is a featureless white disk, reduce exposure. A rising Moon near twilight is easier to balance with the landscape than a bright Moon in a fully dark sky.
For a sharp Moon, begin with a moderate ISO, an aperture that keeps your lens sharp, and a shutter speed fast enough to avoid motion blur. Adjust based on focal length, phase, and remaining twilight. The long 10 to 20 second exposures often used for stars are usually too long for a detailed telephoto Moon because the Moon and sky move during the exposure.
Arrive before the calculated time
Set the tripod, frame the foreground, and test exposure before moonrise. Arriving 20 to 30 minutes early gives you time to adjust when the bearing or obstruction looks different on location.
Keep shooting after the first edge appears. The light, color, and alignment change quickly as the Moon rises. A frame several minutes later may have cleaner air and better separation from the ridge.
A simple field checklist
- Confirm time, bearing, phase, and expected horizon obstruction.
- Scout a safe position in daylight.
- Bring a tripod, charged battery, and clean lens.
- Frame and focus before the Moon appears.
- Protect lunar highlights and check the histogram.
- Capture wide and tight compositions.
- Stay aware of terrain, traffic, tides, and park rules in the dark.